Hello!
Today I am going to teach you the basics of contemporary embroidery.
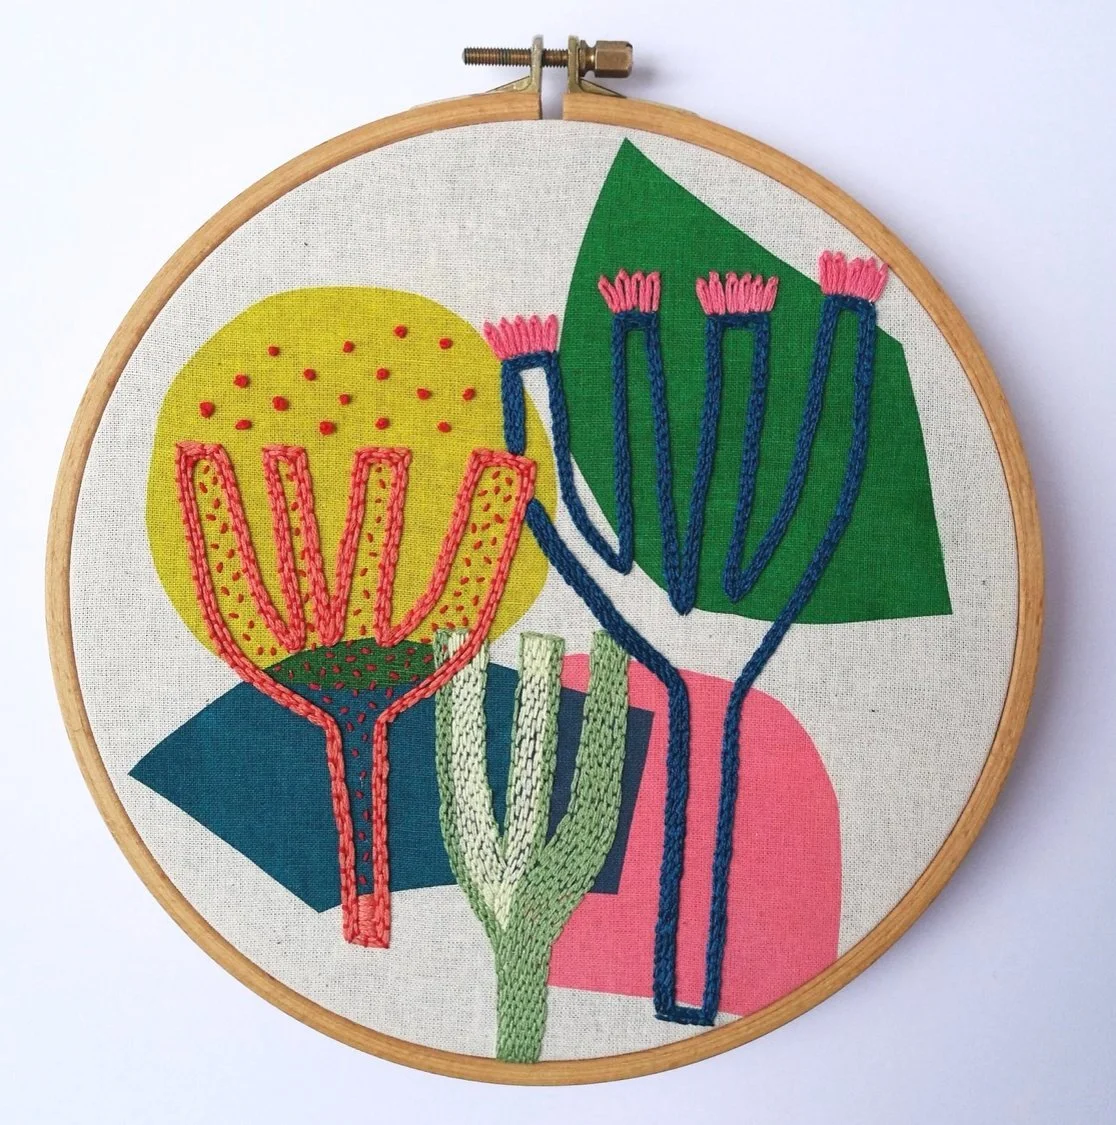
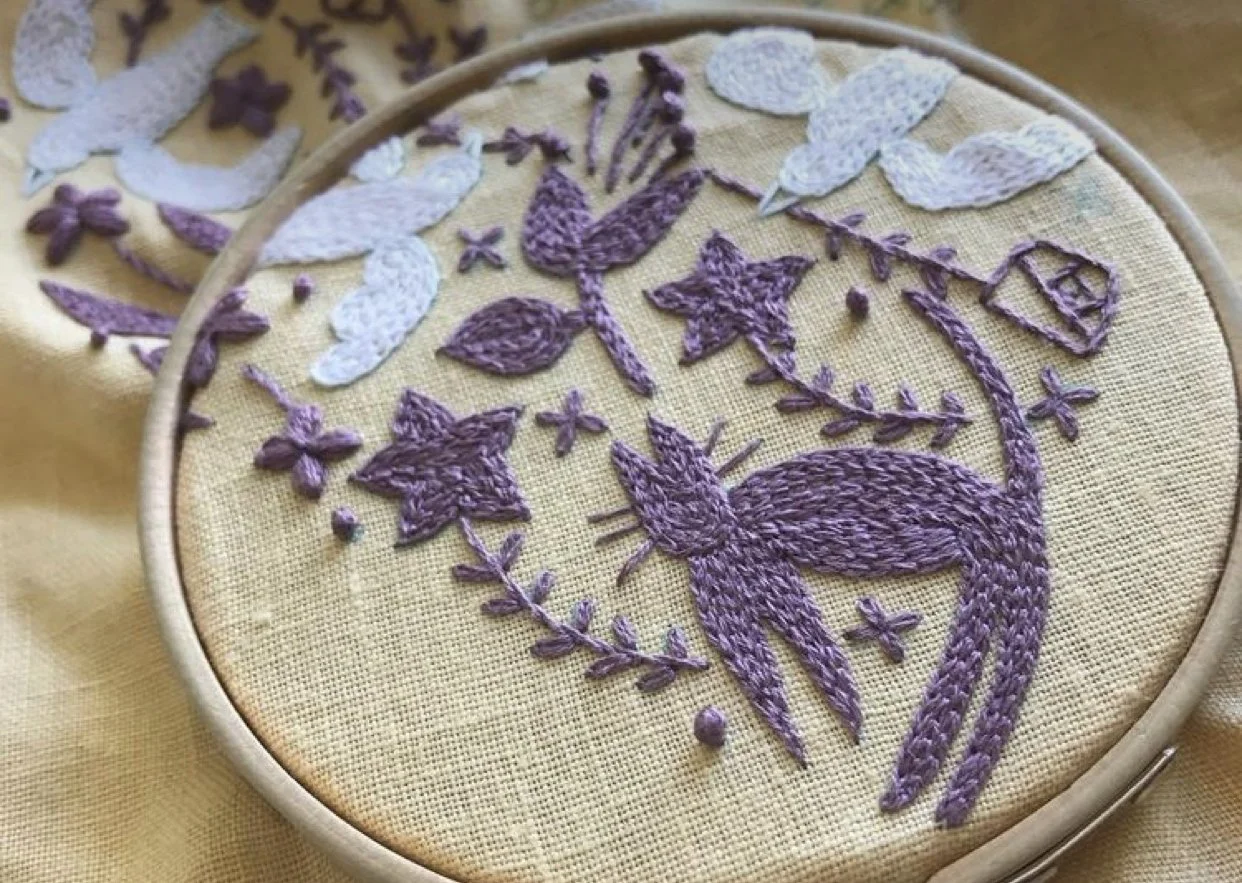
Embroidery by Miesje Chafer.
The first thing you need to know is what type of fabric to use. It is best to use woven fabrics with no stretch; cotton, linen, and burlap are most commonly used. I prefer cotton myself.

You can choose any color you would like.
If you want to get extra creative you can design your own backgrounds and print them out online using services such as Spoon Flower.
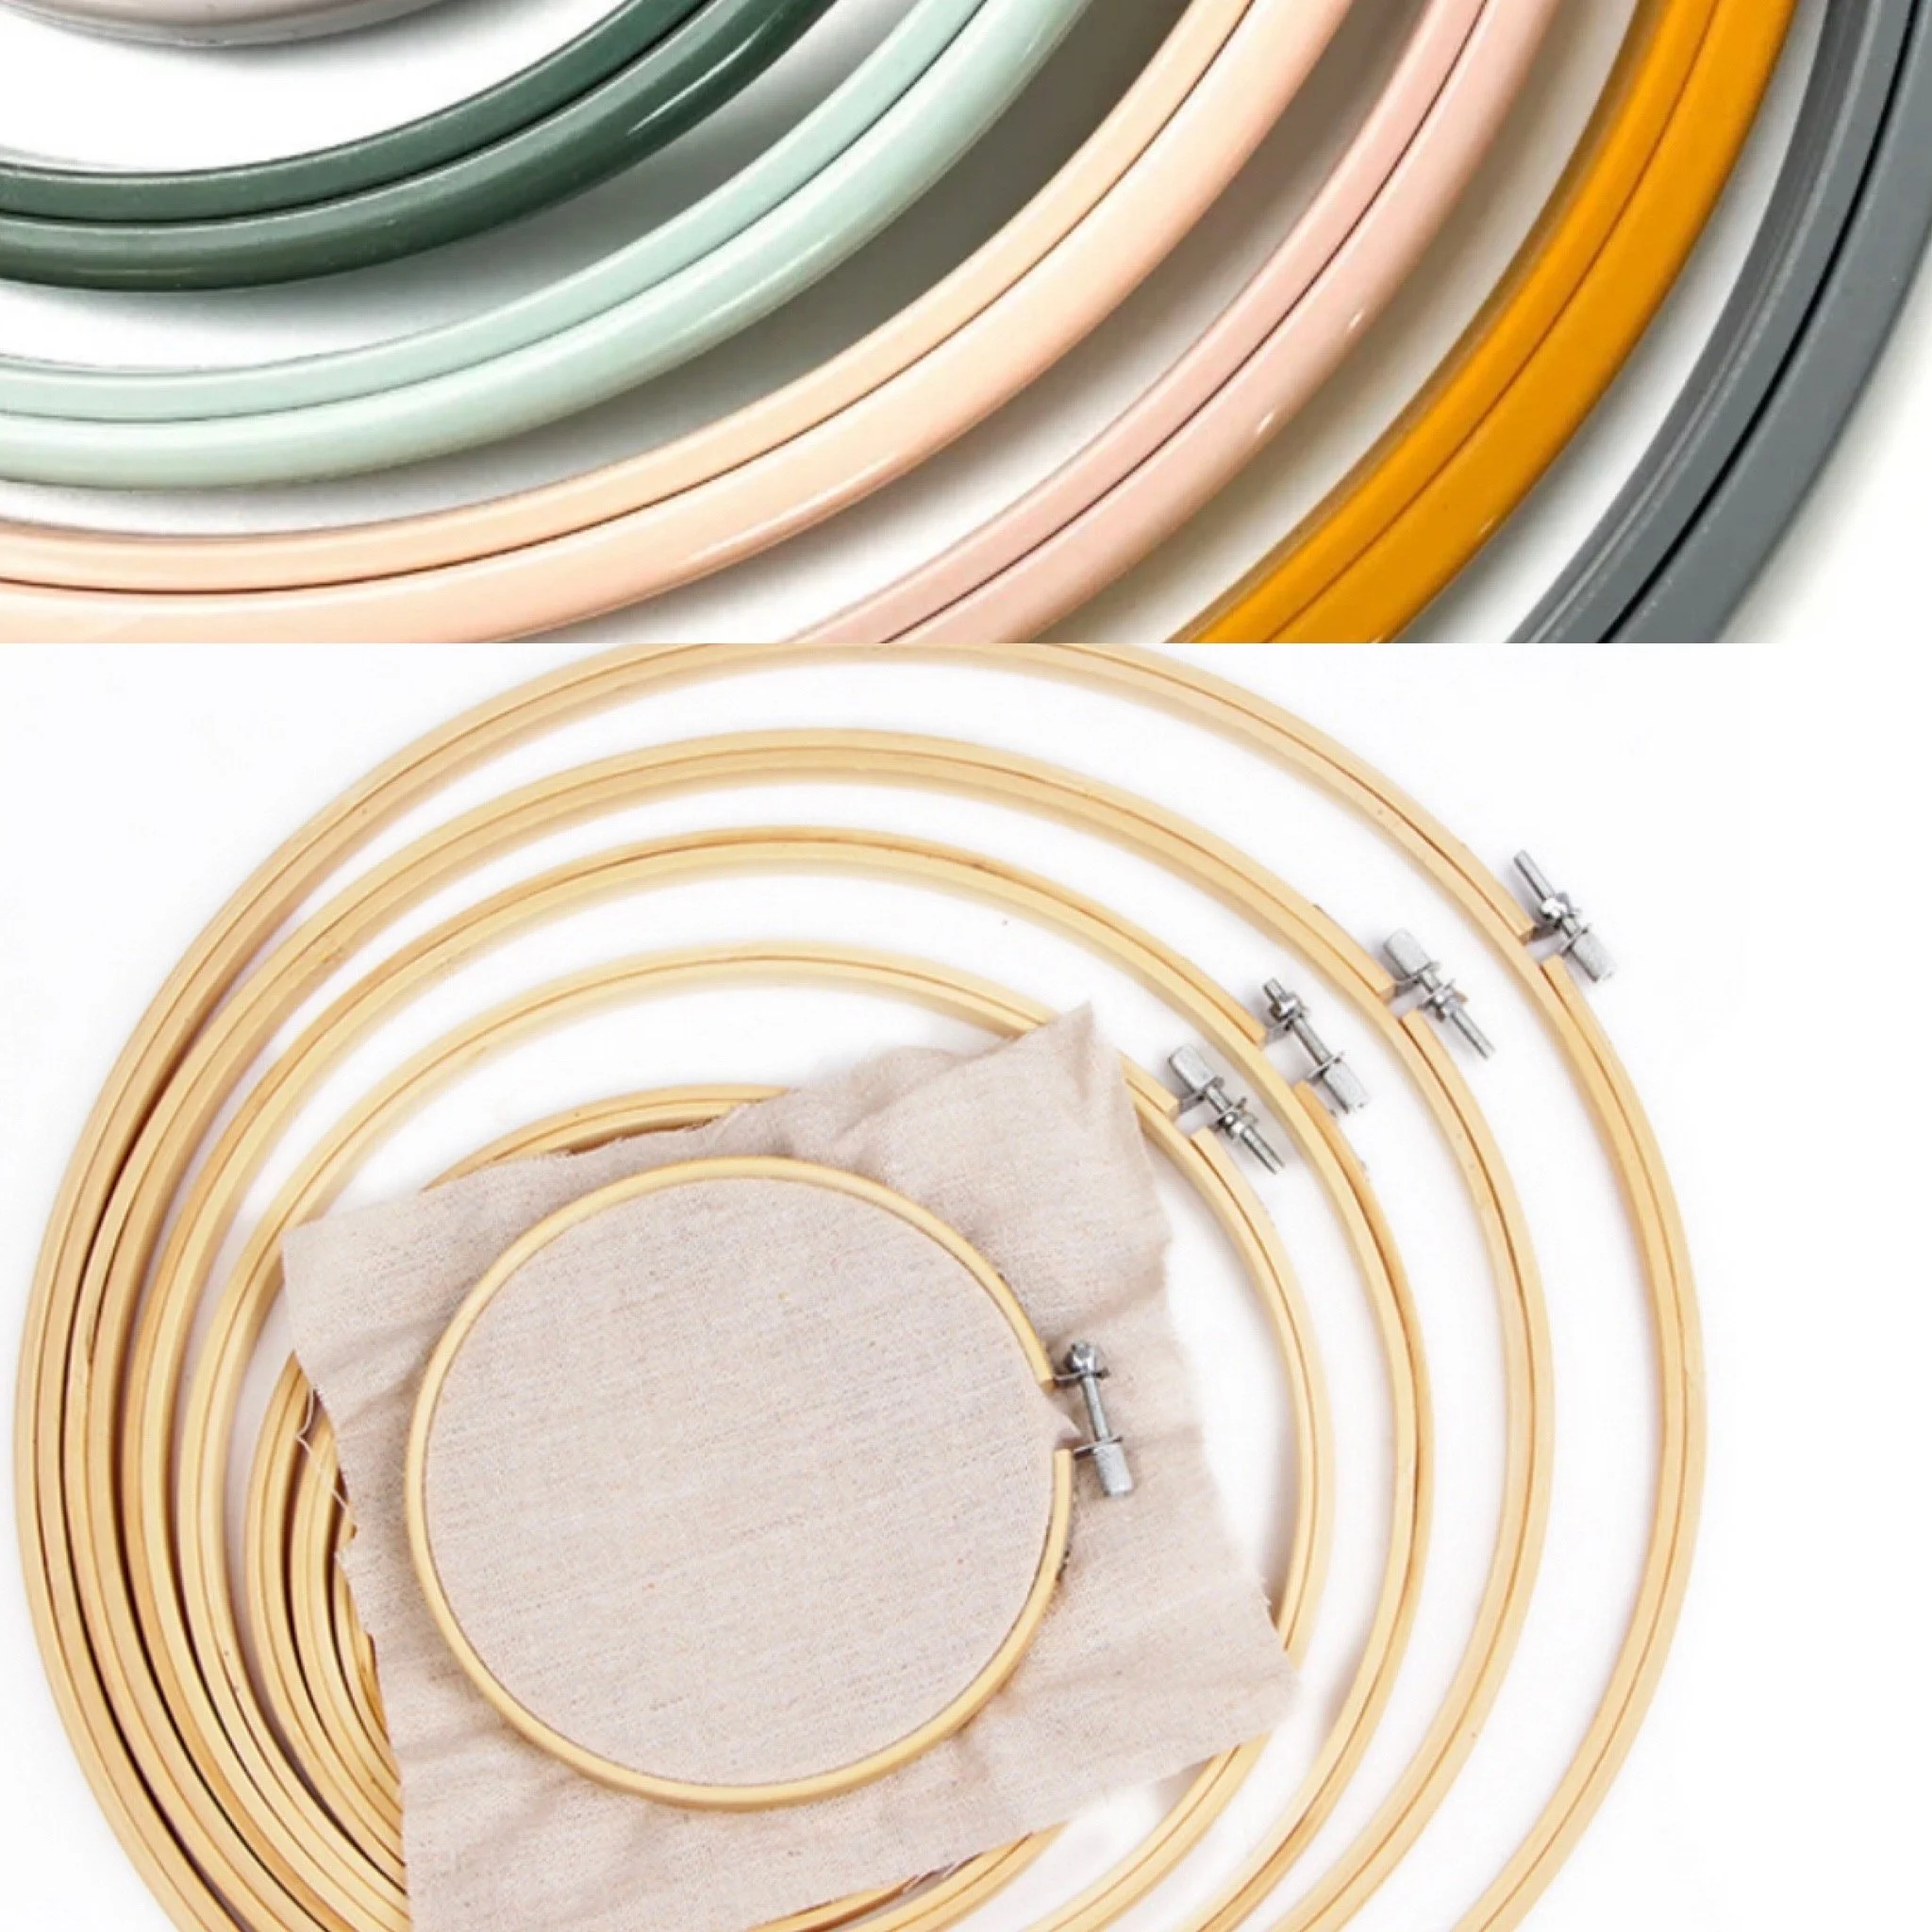
Once you have picked out a fabric you like you need to get an embroidery hoop and some embroidery thread or floss.
For the hoop, I find that plastic hoops are the best for working on larger embroideries (6 inch hoop or larger) because they keep the fabric from getting loose and you want it to be tight while you are embroidering. Wooden hoops are best for displaying finished pieces and are fine for working on smaller embroideries (6 inch hoop or smaller).
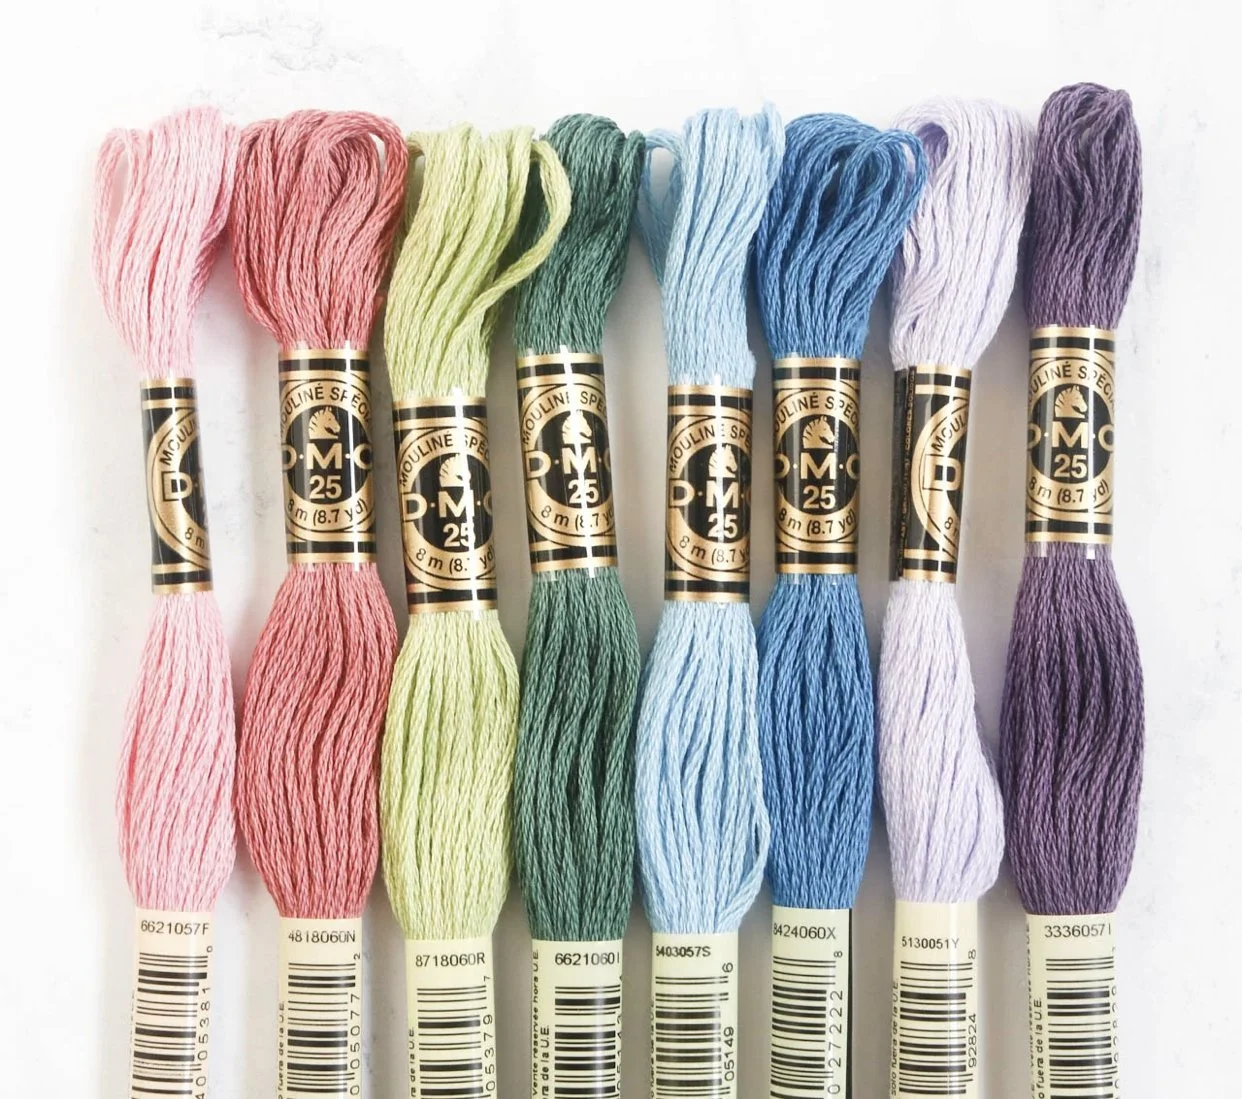
For the thread, there are a lot of different options I prefer DMC brand embroidery thread but you can buy skeins (a length of thread or yarn, loosely coiled or knotted) from anywhere, you just want to make sure that you are using six stranded embroidery thread so that it can be separated later on.
Now that you have gathered your supplies it is time to put your fabric on your embroidery hoop. You do this by laying the inner circle of your embroidery hoop flat on a table, placing your fabric over it, and then placing the outer circle of your embroidery on top of your fabric, so that the fabric is in between the two pieces of your hoop. Tighten the outer hoop using the metal apparatus at the top, then work your way around the hoop with your fingers, pulling the fabric tighter in all directions. Once you have made your way around the hoop and are back at the top, tighten the metal apparatus one more time so that your fabric is taut, like a drum.
Embroidery by Chloe Wen.
Now it is time to thread your needle and start stitching! This is where having a six stranded embroidery thread or floss is important. Just like you would use a small brush for little details in a painting and a large brush for painting backgrounds and undertones, you can separate your embroidery thread to get different widths which allow you to incorporate more details and variety into your piece. To separate your thread you pull the desired number of threads apart from the others, hold them with one hand, and pull them completely apart with your thumb.
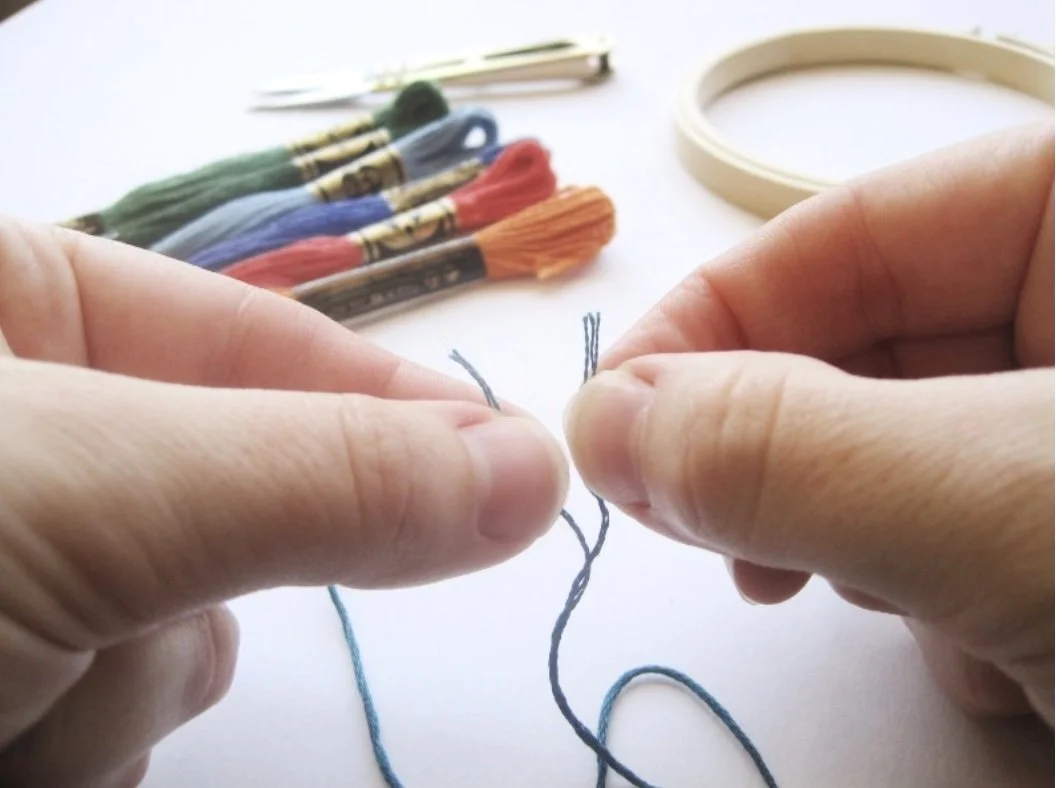
After separating (or not separating) your thread you will thread your needle and tie a knot. There are two ways to do this that you can see below, the first, shown with the red thread, is the way embroidery thread has traditionally been tied, by knotting the end and leaving a tail hanging. The second, shown with the blue thread, is how I personally tie my embroidery thread and is more common among hand sewing. Both methods work great, I suggest trying both to see which you prefer for yourself.
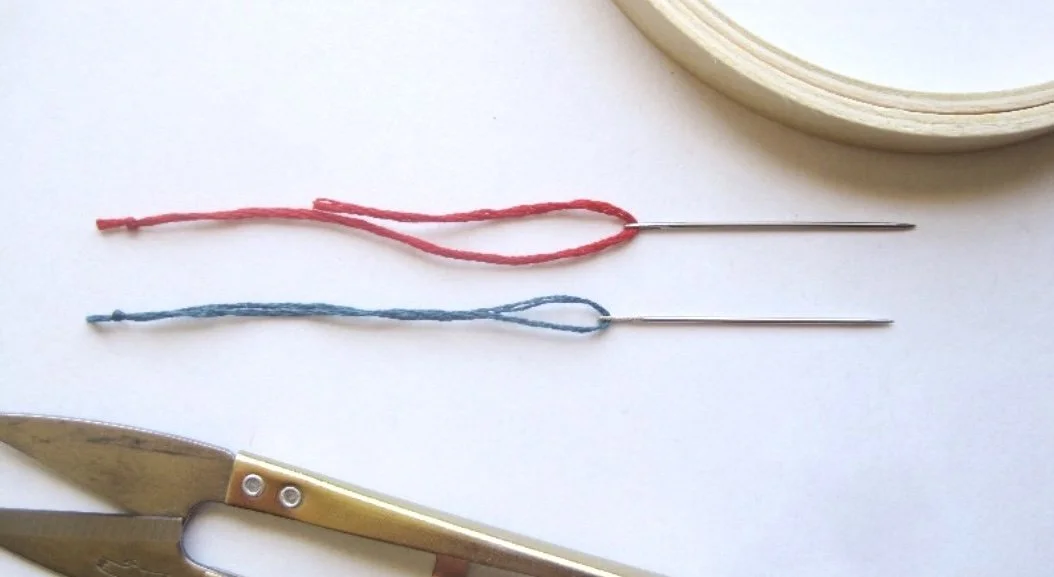
This image and the one above are from ErinFrischStudio.com.
For the knot, you loop your fabric around itself on the end of your strand of thread and pull it tight. If you are only using one or two strands of thread you can loop it around itself two or three times so that your knot is thick enough that it won’t pull through your fabric when making your first stitch. If you are working with more than two strands, one loop will usually suffice.
Now that you are prepared to start stitching you want to determine what type of embroidery you want to make. If you want to make something abstract or non objective you can free hand your design and make it up as you go. If you want to make something specific and/or representational you can sketch it out lightly in pencil on your fabric or you can use a fabric marker with disappearing ink.

This digital embroidery pattern by Lark Rising on Etsy depicts the pencil lines drawn to delineate different sections of the embroidery.
Now that you have a general idea of what you want to make it’s time to learn the backstitch; the most common and versatile embroidery technique in my humble opinion. For all embroidery techniques, you start by pulling your thread through the front, from the back, in the desired location. The easiest way to find the right spot to poke your needle through is to drag your needle along the fabric, from the back, until you reach the point you want to pull it through. Pull your thread through until you feel a slight tug from your knot against your thread. Be careful not to pull too hard, it can sometimes cause your knot to push it’s way through the fabric and potentially cause damage.
To begin your backstitch make a small stitch forward, skip a space, and then go backwards into the last hole you made to connect your stitches. To continue your backstitch keep skipping a space and going backwards to create a continuous line.

Backstitch images by Kari Morrison.
The backstitch can be used to create lines, as is pictured above but it can also be used to fill in space and create texture in your piece.
By composing
multiple backstitched lines right next to each other you can fill in blocks of color.
The backstitch can also be used as a base for the second most common embroidery technique, once again in my humble opinion, the satin stitch. To make the satin stitch you draw out a shape, back stitch around the shape, and then make straight stitches over it right next to each other until you have filled the shape in.
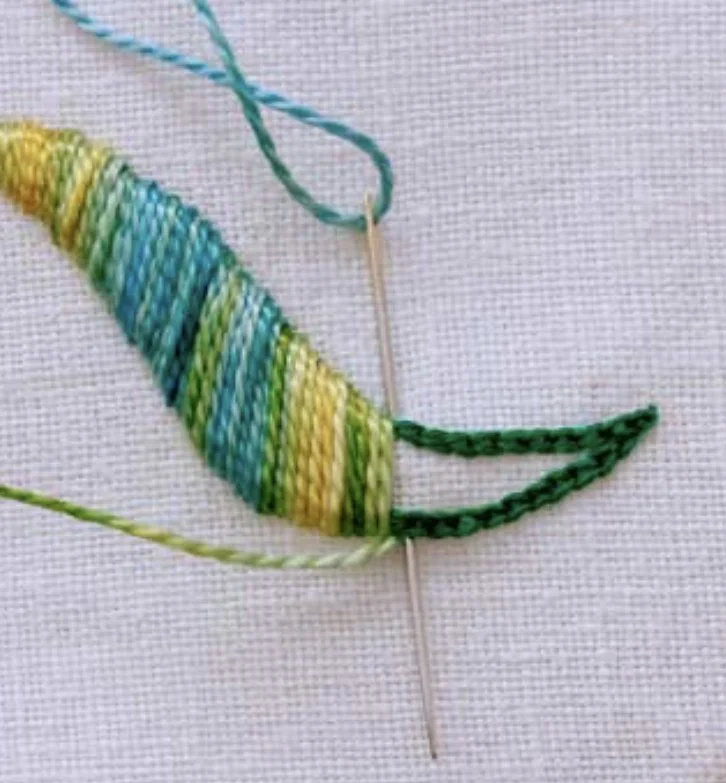
Satin stitch image from pintangle.com.
While there are lots of different embroidery stitches those two are the basic foundation that you need to start embroidering! And now you are all set to start making your own creations!

Embroidery by me, Taryn Singleton.